Working under the assumption that most people looking into my blog are fellow costumers, reenactors, and friend that just want to see how it works, I present a basic techniques page. Rather than digging through blog entry after blog entry and suffering my rambling to find that how I do that, I decided to put it on one page. You will find the basic techniques of seam finishing, setting gussets, gores, and necks. While my goal is to create 12th century garments, most of these techniques can be applied to many time periods.
Seam Finishing
Modernly, we surge or zigzag most seams. On finer fabric, particularly on sheers, we engage French seaming. However, most reenactors prefer to finish their interior seaming with period techniques. While there are quite a few we will be looking at a small sampling.Flat felled seams:
My favorite type of seam finishing, particularly useful on linens and wools. Still used today on the construction of jeans. Flat felling involves folding one side of the raw edge over the other and binding it down. Makes a smooth strong seams that will not fray.Using a half inch seam allowance, trim down one side to one quarter inch.
Fold taller edge over the trimmed edge.
Pin in place, press if desired.
Whip stitch into place, or use a running stitch. The advantage of whip stitching is that if you are using a colored thread that doesn't match the fabric, it becomes nearly invisible on the other side. The running stitch would be better used on garments or items that are expected to endure harder use.

The finished seam from the outside of the garment.
Setting a Gusset
Sooner or later in the pursuit of working on 12th Century garments, the setting of a gussets must be accomplished. This can seem like a daunting task. The fabric ripples and in turning the corners it catches and soon you've caught a bit of sleeve and the whole thing is mess.Like most things, it's no where near as complicated as it seems if you take it one step at a time. You want to start after you sew in the heads of your sleeves, but before you sew down sides. The "tabard" stage of the garment where it looks just like that, a tabard. Be sure your gusset squares are perfectly square, usually about a 3.5 x 3.5 inch square.
Start with pinning your gusset into the point where the armpit is, leaving a 1/4 inch gap between the point where you are going to start sewing and the very top of the fabric.
Sew down arm edge till 1/4 inch from the edge of gusset. Finish off, pull, and trim the threads. It's important to do this one side at a time to keep edges and corners nice and neat.
Repeat pinning from the armpit along the sleeve, leaving the 1/4 inch headspace, ending 1/4 inch unsewn at the base. Stitch till you meet your original thread.
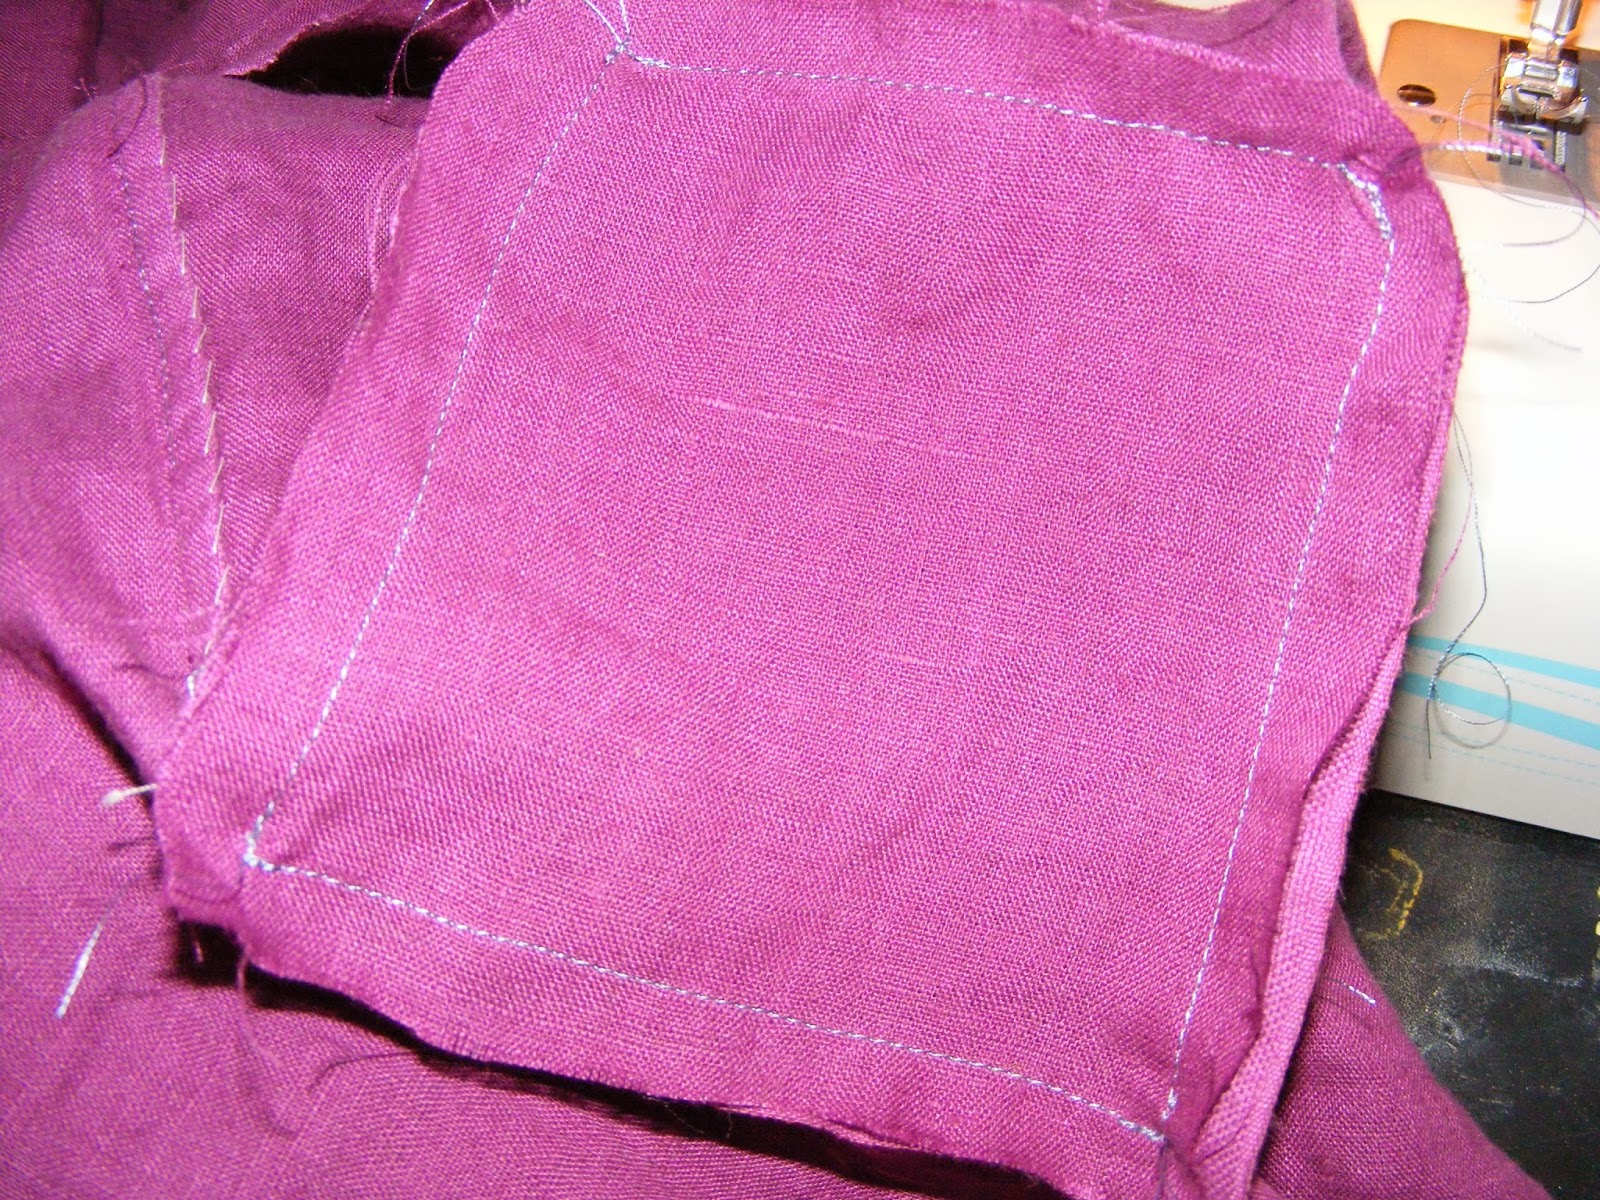
Now, repeat twice more, this time working down the body side of the garment. Remember always leaving the 1/4 inch space, starting and stopping at other thread points.
Once you have worked all four sides, stopping and starting in the proper places, the gusset should have a nice and neat appearance. Now would be a good time to finish stitching sides.
After you turn the fabric, you should have a lovely, flat, and well formed gusset.


No comments:
Post a Comment